
The Elf on the Shelf tradition has become a beloved Christmas tradition for many families, a charming and slightly spooky way to add a touch of magic to their homes. For years, the iconic elf has been meticulously placed on shelves, windowsills, and even the floor, creating a delightful surprise for children. But what if you want to elevate your Elf on the Shelf experience? What if you want to create a truly memorable and engaging scene? This guide will walk you through creating a stunning Snow Angel Elf on the Shelf, transforming your home into a winter wonderland. It’s more than just placing an elf; it’s about crafting a narrative and a moment of wonder.
Understanding the Core Concept
At its heart, the Snow Angel Elf on the Shelf is all about capturing the essence of winter. It’s a visual representation of the season’s beauty – the crisp air, the sparkling snow, and the quiet stillness. The goal isn’t just to have an elf; it’s to create a scene that evokes a feeling of cozy anticipation and festive joy. A well-executed Snow Angel Elf can spark imaginative play and create lasting memories. It’s a simple concept, but the execution is key to a truly captivating scene. Think about the light – a soft, diffused glow is ideal for capturing the snow.
Gathering Your Materials – The Essentials
Before you begin, let’s gather the materials you’ll need. Having everything readily available will streamline the process and ensure a smooth, enjoyable experience.
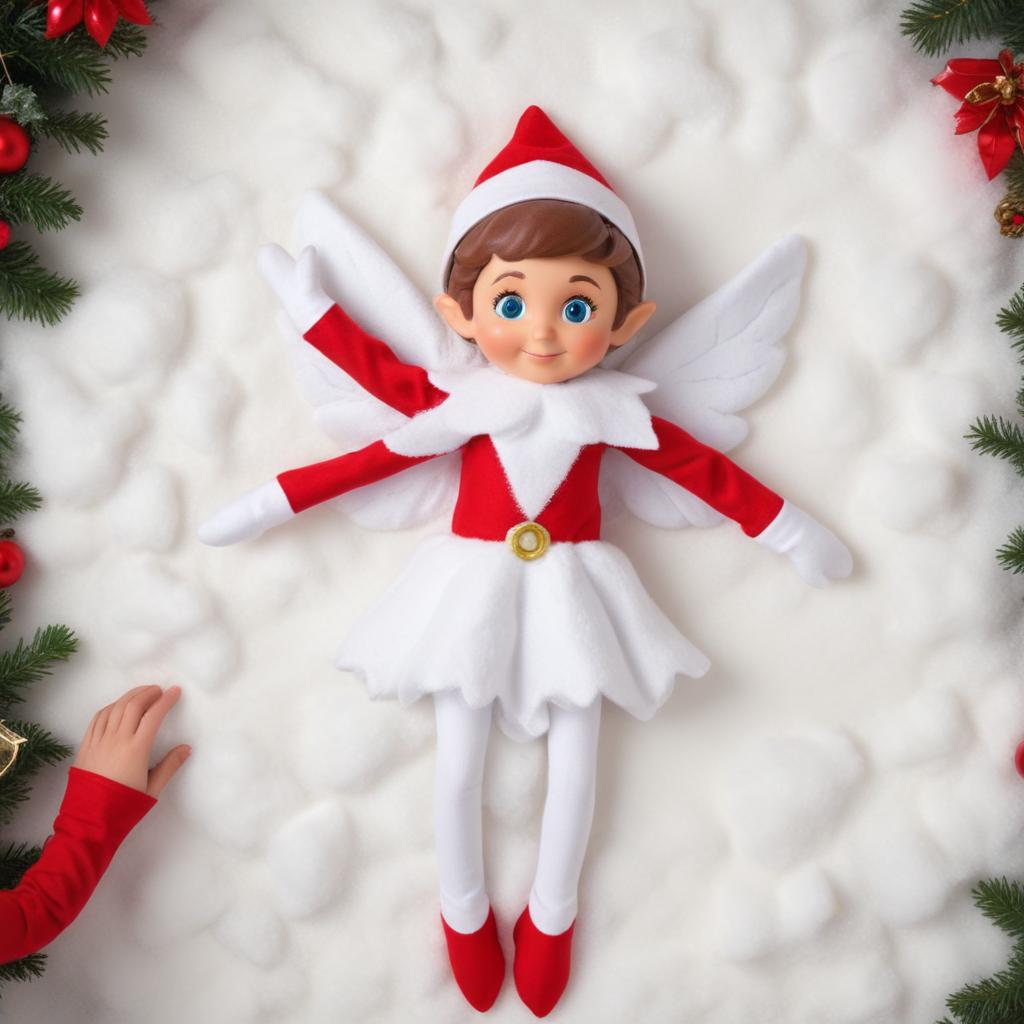
- The Elf: Obviously! Choose your favorite Elf, or a new one for a fresh look.
- Snow Powder: This is crucial! You’ll need a generous amount of white, fluffy snow. The finer the snow, the better it will blend into the scene. Consider using a snow blower or a large bucket to collect the snow.
- A White Sheet or Fabric: A large, lightweight white sheet or fabric will serve as the base for your Snow Angel. It provides a clean, neutral backdrop.
- Glue: White school glue or a glue stick works best. Avoid using hot glue, as it can be messy and potentially damaging to the elf.
- Scissors: For trimming the sheet and adjusting the elf’s position.
- Optional Decorations: Small, white bells, miniature snowflakes, glitter, or even a tiny cup of hot cocoa can add extra touches.
Step-by-Step Instructions: Building Your Snow Angel
Let’s break down the process into manageable steps. Remember, patience and a little creativity are key!
- Prepare the Base: Lay the white sheet or fabric flat on a table or floor. This will be the foundation for your Snow Angel. Ensure it’s clean and wrinkle-free.
- Position the Elf: Carefully place your Elf on the sheet. The ideal position is usually facing the window, allowing the snow to catch the light. Experiment with different angles – a slight tilt can add visual interest.
-
The Snow Application: This is where the magic happens! Using a generous amount of snow, gently press it onto the sheet, creating a fluffy, snow-covered surface. Don’t worry about perfect coverage; the goal is to create a textured, snowy effect. Start at the bottom of the sheet and work your way up, allowing the snow to blend seamlessly with the fabric. A light hand is important – you don’t want the snow to be too dense.
-
Creating the Silhouette: Once the base is covered, begin to sculpt the snow. Use your fingers to gently shape the snow, creating a delicate, snow-covered silhouette of the elf. Think about the elf’s pose – a slight curve in the arms or a gentle tilt of the head can add a touch of personality.
-
Adding Details (Optional): This is where you can really personalize your Snow Angel. Glue on small white bells, sprinkle glitter lightly over the snow, or attach a tiny cup of hot cocoa for a cozy winter treat. Don’t overdo it – a few well-placed details are more effective than a cluttered scene.
-
Final Touches: Step back and admire your creation! Adjust the position of the elf and the snow to ensure it’s balanced and visually appealing. Consider adding a small, twinkling light to enhance the winter atmosphere.
Expanding the Snow Angel – Creative Variations
Once you’ve mastered the basic Snow Angel, you can explore some creative variations to keep things fresh.
- Snowy Forest: Create a miniature forest scene around the elf, using evergreen branches and miniature pine trees. The snow can be used to create a snowy forest floor.
- Snowy Village: Build a small village scene around the elf, complete with miniature houses and a snow-covered path.
- Snowy Mountain: Create a snowy mountain range using white fabric and strategically placed snow. The elf can stand on a snowy peak.
- Snowy Window: Position the elf in a window, allowing the snow to cascade down the glass. This creates a beautiful, shimmering effect.
Enhancing the Experience – Storytelling Through the Elf
The true power of the Snow Angel isn’t just about aesthetics; it’s about creating a moment of imaginative play. Think about the story you want to tell with your Elf. Is it a journey to the North Pole? Is it a secret mission to deliver presents? The more you can weave a narrative around the scene, the more engaging it will be for children. Consider adding a small, handwritten note or a miniature map to further enhance the experience.
Tips for Success – Troubleshooting
- Snow Consistency: The key to a good Snow Angel is consistent snow. If the snow is too powdery, it won’t blend well. If it’s too wet, it will be messy.
- Blending is Key: Don’t be afraid to let the snow blend seamlessly with the fabric. A little bit of texture is what creates the illusion of snow.
- Lighting Matters: Soft, diffused lighting is ideal for capturing the sparkle of the snow. Avoid harsh shadows.
- Don’t Overdo It: Less is often more. A simple, well-executed Snow Angel is more effective than a cluttered, overly ambitious scene.
Beyond the Basics – Advanced Techniques
For those who want to take their Snow Angel creation to the next level, here are a few advanced techniques:
- Texture: Experiment with different types of glue and fabric to create a variety of textures. Adding glitter or small embellishments can add extra visual interest.
- Layering: Create depth by layering the snow and fabric. Start with a base layer of snow, then add additional layers to create a sense of dimension.
- Color Variations: Use different shades of white and silver to create a more realistic snow effect.
Finding Inspiration – Resources for Further Exploration
Numerous online resources offer inspiration and tutorials for creating Snow Angel Elf scenes. Search for “Elf on the Shelf ideas” or “Snow Angel Christmas crafts” to discover a wealth of creative possibilities. Pinterest is a particularly excellent source of visual inspiration.
Conclusion: A Moment of Winter Wonder
Creating a Snow Angel Elf on the Shelf is a rewarding and enjoyable experience. It’s a simple way to inject a touch of winter magic into your home and create lasting memories with your children. By following these steps and embracing a little creativity, you can transform your Elf into a truly enchanting scene. So, gather your materials, embrace the snow, and let the magic begin!